Published: Mar 2, 2017 by Lucy Tennyson
Blog and class notes Thursday 2 March 2017
Alignment is one area where yoga teachers don’t always see eye to eye …. Literally! When coming up from a standing forward bend, some will tell their students to uncurl ‘vertebrae by vertebrae’ with a rounded back. Others will insist that you unwind halfway up, then straighten the back, so you could look into the eyes of your teacher facing you, as you lead the movement from the chest.
Yoga will never be an exact science, and most of you will just want to know how to come into and out of postures safely with the maximum benefit for the body. In the example above, the straight back version is an option for someone with lower back issues, as it encourages the use of the abdominal muscles to support the movement.
As ever, the clue lies in knowing what your body needs, and being hyper aware of any injuries, or vulnerabilities. For example, if you get lower back pain, then pay particular attention to any posture that requires coming up and down from the floor, such as the salute to the sun sequence. Paying attention to your alignment – keeping a straight back supported by the abdominal muscles and positioning the feet and hands correctly – will help keep you safe.
Slower forms of yoga such as hatha which I teach, and Iyenga (where there is great use of props such as blocks and belts), put greater emphasis on alignment than the more flowing (vinyasa) styles, where the pace is sometimes too quick for a teacher to give very precise cues as to where to place the feet, for example, or how far to go into a twist. Of course, students should always be thinking of how they are moving into and out of postures, and working on improvement.
However, I believe there is a danger in trying to copy a teacher (who is likely to be very flexible and mobile) rather than understanding your own anatomy and body type. The following are examples of where attention to alignment will help safe practice.
Tree pose – think about the position of the pelvis not the knee
Every yoga class usually includes Tree Pose. Without cues to safe alignment, a student might try and copy their flexible teacher whose knee points straight out to the side. However, the anatomical reality is that because the acetabulum (the part of the pelvis that the femur bone inserts into) faces slightly forward, it’s impossible even with greatest hip flexibility to turn your knee to the side without moving your pelvis, which also rotates the spine (which can then stress the sacro iliac joint as the standing leg remains facing forward). Instead when coming into Tree Pose, just turn the knee as far to the side as you can keeping the pelvis facing front. That will keep the spine, the hip, and the standing leg all facing forward – as they are designed to do.
Triangle – it’s a side stretch not a forward bend
Triangle is another popular pose, but where almost every school of yoga has something different to say in regards to alignment. In the classical Ashtanga variation, the instruction is to take hold of your big toe or ankle while keeping both sides of your spine parallel to the floor. This requires a huge amount of flexibility.
One of the reasons we do Triangle is to increase the side-to-side flexibility of the torso, and strengthen certain muscles that are crucial to stabilizing the spine.
But, if you aren’t super flexible, are a beginner, or have an unstable sacro iliac joint, pushing too far can actually cause harm. Far better is to pay closer attention to your alignment rather than aiming for a textbook perfect pose (hand to the floor, foot or ankle). Beware you alpha males and females!
The key to this posture is stay anchored in your back leg as you reach your front arm out to the side, which lengthens the spine to elongate the spine out of the pelvis. When you can’t reach your arm forward anymore, simply rest your hand wherever it comfortably lands on your leg (even if no further down than the knee). Pay attention here to your tendency to reach the hand further down your leg – remember yoga is about acceptance, letting go and not being competitive.
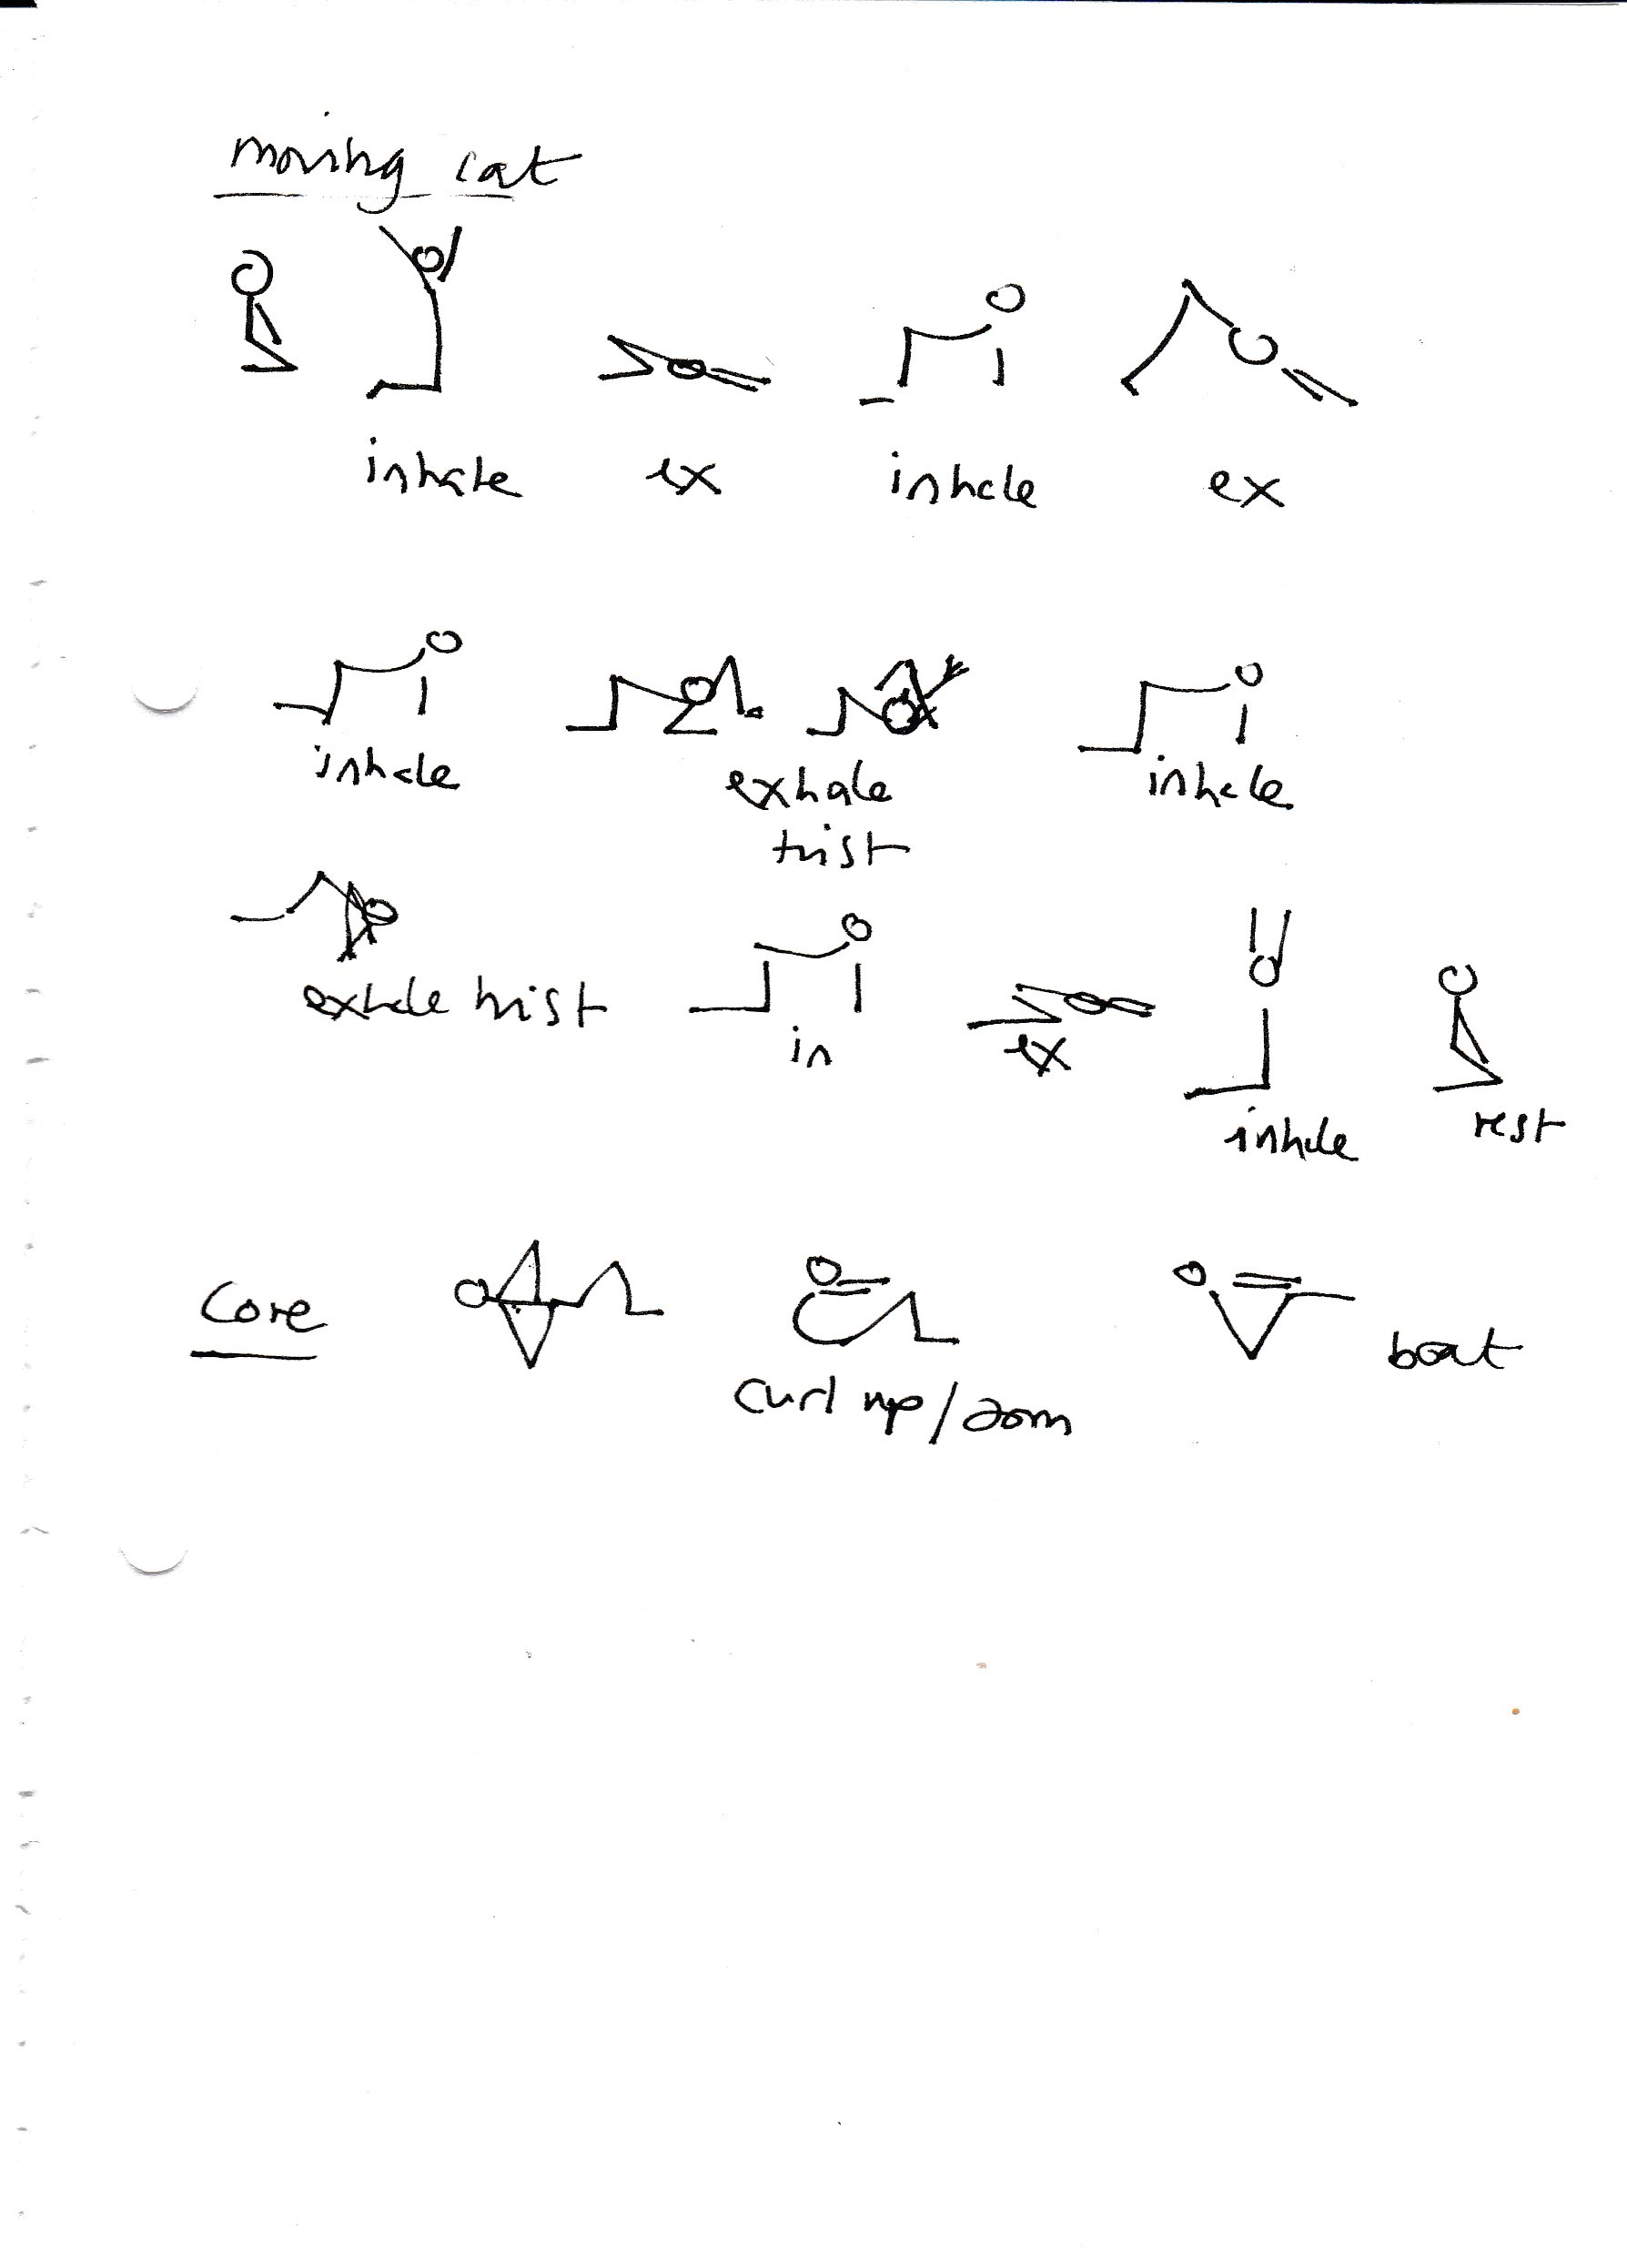
Below is a flowing cat sequence which we practised this week. There are different variations, and this is one taught at a workshop by yoga therapy teacher Nikki Jackson. First warm up gently, and make sure you have good padding for the knees - it requires good alignment, as well as linking the postures together with the breath (vinyasa) - which will be the topic of next week’s class.